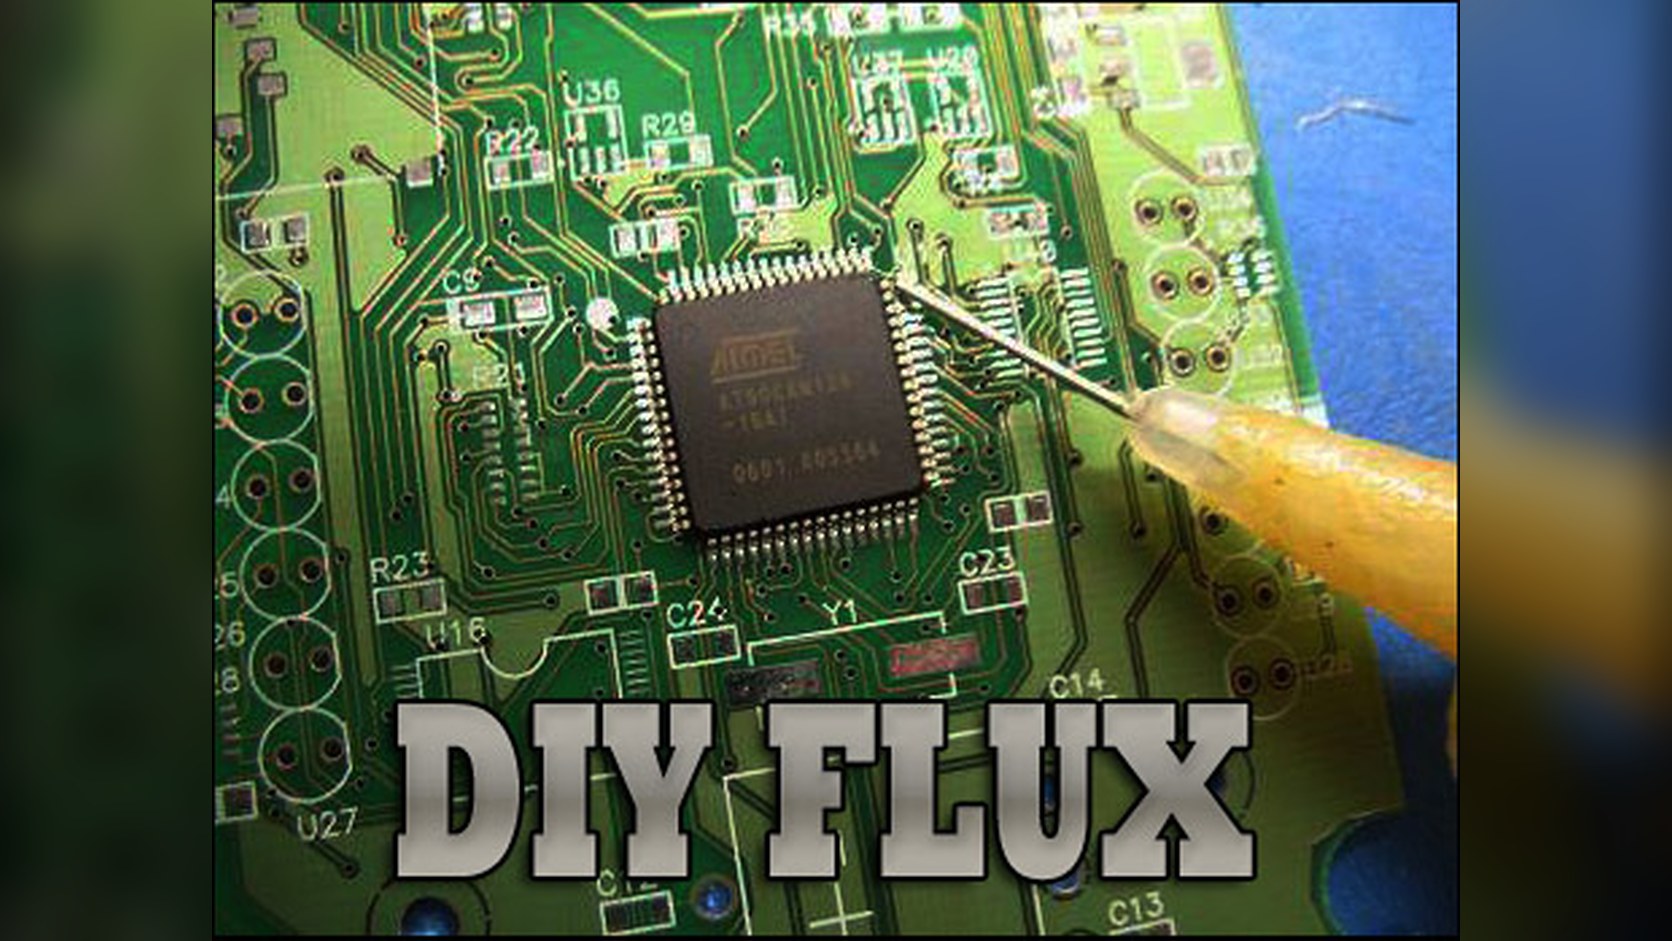

The use of flux when soldering electronics is one of the fundamental skills that everyone who thinks of picking up a hot soldering iron should have. A lot of times, those new to soldering think that the application of flux is not a necessary component of the soldering process. Judging by the emails I get, this is mainly because of two reasons. They watched a youtube video of an inexperienced kid solder two wires together using $5 pencil iron and plumbing solder then state that flux core solder is all that is needed. The other reason I hear most often is that flux is too expensive for the average hobbyist. We paid $15 for the 2 flux pens we purchased last and $25 for the jar of liquid flux we purchased before that. Today we are going to show you how to create your own flux and create a large quanitity for much less than you would spend by purchasing it premade.
Parts Required
Part Description | Amazon.com |
|---|---|
| Violin Rosin | Super Sensitive Light Violin Rosin |
| 99% Isopropyl Alcohol | MG Chemicals 99.9% Alcohol |
| Glass Jar with lid | Ball 16oz Mason Jar |
| 30ml Glass Dropper Bottle | 6pc Clear 2oz glass dropper bottles |
| Ziploc Freezer Bag | 28ct Ziplock Freezer Bags 1-Gallon |
Tools Required
Tool Description | Download Link |
|---|---|
| Rolling Pin | Foxrun Marble Rolling Pin |
| Hammer / Mallet | Stanley FatMax Extreme or Wooden Mallet |
| Flat-Head Screwdriver | Milwaukee Professional Screwdriver Set |
What is flux?
In the soldering of metals, flux serves a threefold purpose: it removes oxidation from the surfaces to be soldered; it seals out air thus preventing further oxidation, and by facilitating amalgamation improves wetting characteristics of the liquid solder. Some fluxes are corrosive, so the parts have to be cleaned with a damp sponge or other absorbent material after soldering to prevent damage. Several types of flux are used in electronics.
A number of Standards exist to define the various flux types. The principal standard is J-STD-004.
J-STD-004 characterizes the flux by type (e.g. Rosin (RO), Resin (RE), Organic (OR), Inorganic (IN)), its activity (strength of fluxing) and reliability of residue from a (SIR) and electromigration standpoint, and whether or not it contains halide activators.
This replaces the old MIL QQS standard which defined fluxes as:
| R | (Rosin) |
| RMA | (Rosin Mildly Activated) |
| RA | (Rosin Activated) |
| WS | (Water soluble) |
Today we are going to focus solely on making our own Pure Rosin based flux. For those of you who might be curious we have listed a little more information on rosin based fluxes below.
Rosin fluxes are categorized by grades of activity: L for low, M for moderate, and H for high. There are also other abbreviations for different rosin flux grades.
- R (Rosin) - pure rosin, no activators, low activity, mildest
- WW (Water-White) - purest rosin grade, no activators, low activity, sometimes synonymous with R
- RMA (Rosin Mildly Activated) - contains mild activators, typically no halides
- RA (Rosin Activated) - rosin with strong activators, high activity, contains halides
- OA (Organic Acid) - rosin activated with organic acids, high activity, highly corrosive, aqueous cleaning
- SA (Synthetically Activated) - rosin with strong synthetic activators, high activity; formulated to be easily soluble in organic solvents (chlorofluorocarbons, alcohols) to facilitate cleaning
- WS (Water-Soluble) - usually based on inorganic or organic halides; highly corrosive residues
- SRA (Superactivated rosin) - rosin with very strong activators, very high activity
- IA (Inorganic Acid) - rosin activated with inorganic acids (usually hydrochloric acid or phosphoric acid), highest activities, highly corrosive
R, WW, and RMA grades are used for joints that can not be easily cleaned or where there is too high corrosion risk. More active grades require thorough cleaning of the residues. Improper cleaning can actually aggravate the corrosion by releasing trapped activators from the flux residues.
The Recipe
- Remove the wood blocks from the Rosin brick using the hammer and flat head screw driver.
- Place the rosin inside the zip closure bag.
- Use the hammer to break the rosin into small chunks.
- Further break the rosin down into smaller particles using the rolling pin. The pieces need to be as small as possible. 3mm squared is considered large but will work. Remember that smaller is better.
- Fill the dropper bottle with 20ml of Isopropyl Alcohol and add 1 teaspoon of the crushed up rosin. Stir and let sit for a few days to fully dissolve.
We found that 1 teaspoon of rosin per 20ml was about perfect and about what we were use to. Experiment with this recipe and play around with the ratios. For a more watery flux use less rosin. For a thicker paste like triple the amount of rosin. In the end it all boils down to what you like to use and what you are using it for. When you are comfortable with a ratio, scale it up and mix a large batch in the glass jar. With the lid on it should keep for years. If it ever thickens, just add more alcohol. Use the small needle tip bottles to apply the flux to your projects. The guys over at Dangerous prototypes have been making their own flux for years and is where we got the idea from. They say that they have never experienced any corrosion issues with this home brewed soldering flux and we have taken their word on it.