

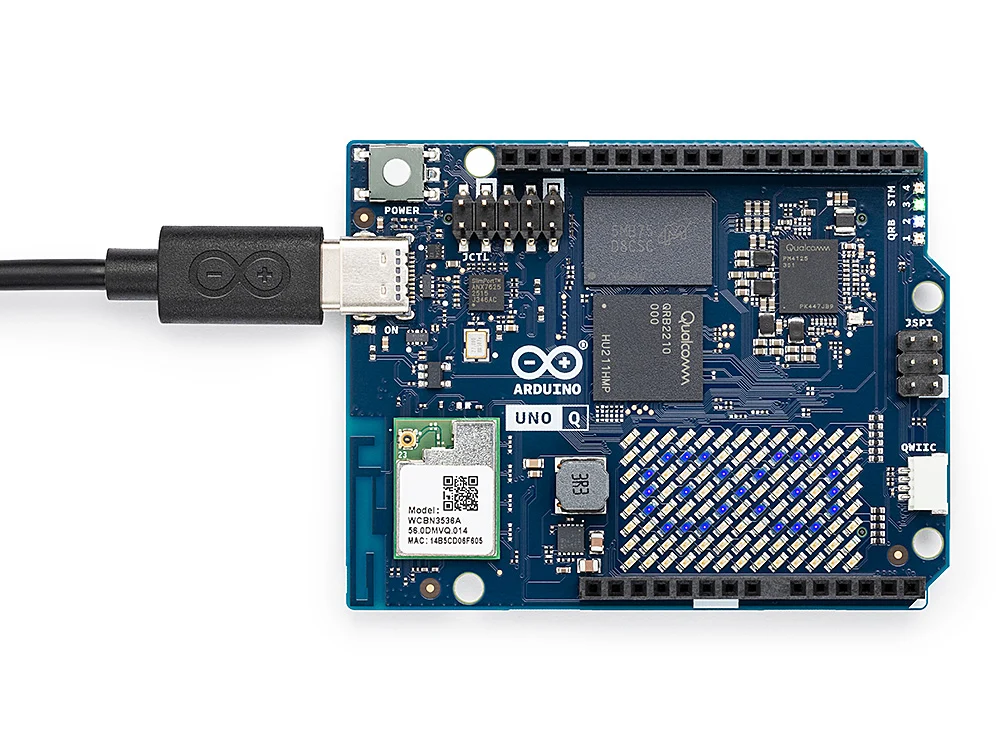
Arduino App Lab is the editor Arduino built for UNO Q and VENTUNO Q: boards that run Linux on one chip and Arduino C++ on another. This page is the first hour: download, install, plug in, let App Lab find the board, run an official Blink example. It is not the architecture explainer (that already exists in this cluster). It is not IDE 2. Part 2 of the Mastery Series is whether you even wanted this hardware. Part 3 is still how a sketch is structured when you open the MCU file.
If you have only ever used IDE 2, the first thing to reset is what "the board" even means here. A classic Uno is one chip: plug in, select a board and port, upload, done. A UNO Q is two chips sharing one USB-C connector, a Linux computer and a microcontroller, and App Lab's entire first-run process exists to get both of them talking to your PC and to each other before anything you write can run. That is why this hour has more waiting in it than a Blink upload on an Uno ever did: you are not just flashing a chip, you are watching an operating system boot.
Current App Lab on Arduino's software page: 0.10.0. You need a UNO Q or VENTUNO Q. An Uno R3 will not appear in the board list.
Image: Arduino
What to download
From arduino.cc/en/software, Arduino App Lab. Arduino documents:
- Windows 10 64-bit or later
- macOS 11 or later
- Ubuntu 22.04 or later, Debian Trixie 64-bit
Install like any other desktop app. On Windows, allow USB access if the OS asks. On a Linux host PC (your computer, not the board), Arduino's UNO Q manual requires udev rules so your user can talk to the board over USB. Without them, App Lab can fail to connect with no obvious dialog. Install those rules before you blame the cable. The same manual lists two USB identities: normal Arduino (2341:0078) and Emergency Download Mode (05c6:9008). Both need permission if you will ever flash an image.
Power and cable
Use a data-capable USB-C cable. Charge-only cables light a power LED and never enumerate (never complete the handshake where a USB device tells the computer what it is). USB-C making this worse than the old USB-A days is not your imagination: a USB-C connector looks identical whether the cable inside carries data wires or just power wires, so there is no shape or color to check the way there sometimes was with older connectors. The only reliable test is trying it and watching whether the board actually shows up.
If you use the UNO Q as a single-board computer (monitor, keyboard, mouse), the USB-C dongle must support power delivery (PD). Arduino recommends the 4 GB RAM UNO Q for that. Apple's USB-C dongle is documented as incompatible. App Lab on your PC does not need a monitor on the board. USB-C to the PC is enough for the first Blink.
Give the board a few seconds after plug-in. Linux on the board has to boot before it can answer. Arduino notes that USB tools (including ADB, the Android Debug Bridge tool some people use to get a shell on the board) can take up to a minute to see the device.
That wait is the Debian side of the board going through the same power-on sequence a laptop does: bootloader, kernel, filesystem mount, services starting, before anything is listening on USB for App Lab to discover. On a classic Arduino, plugging in and seeing a COM port appear happens in under a second, because there is no operating system involved, just a tiny bootloader on the microcontroller itself. A UNO Q's Linux side is doing genuinely more work in that first minute, and there is no progress bar for it from the USB cable's point of view. If App Lab shows nothing yet, that is very often just Debian still booting, not a failure.
First launch
- Open App Lab.
- Connect the board over USB-C. Network discovery is an option once the board is on Wi-Fi. USB is the first-session path.
- Select the board when it appears.
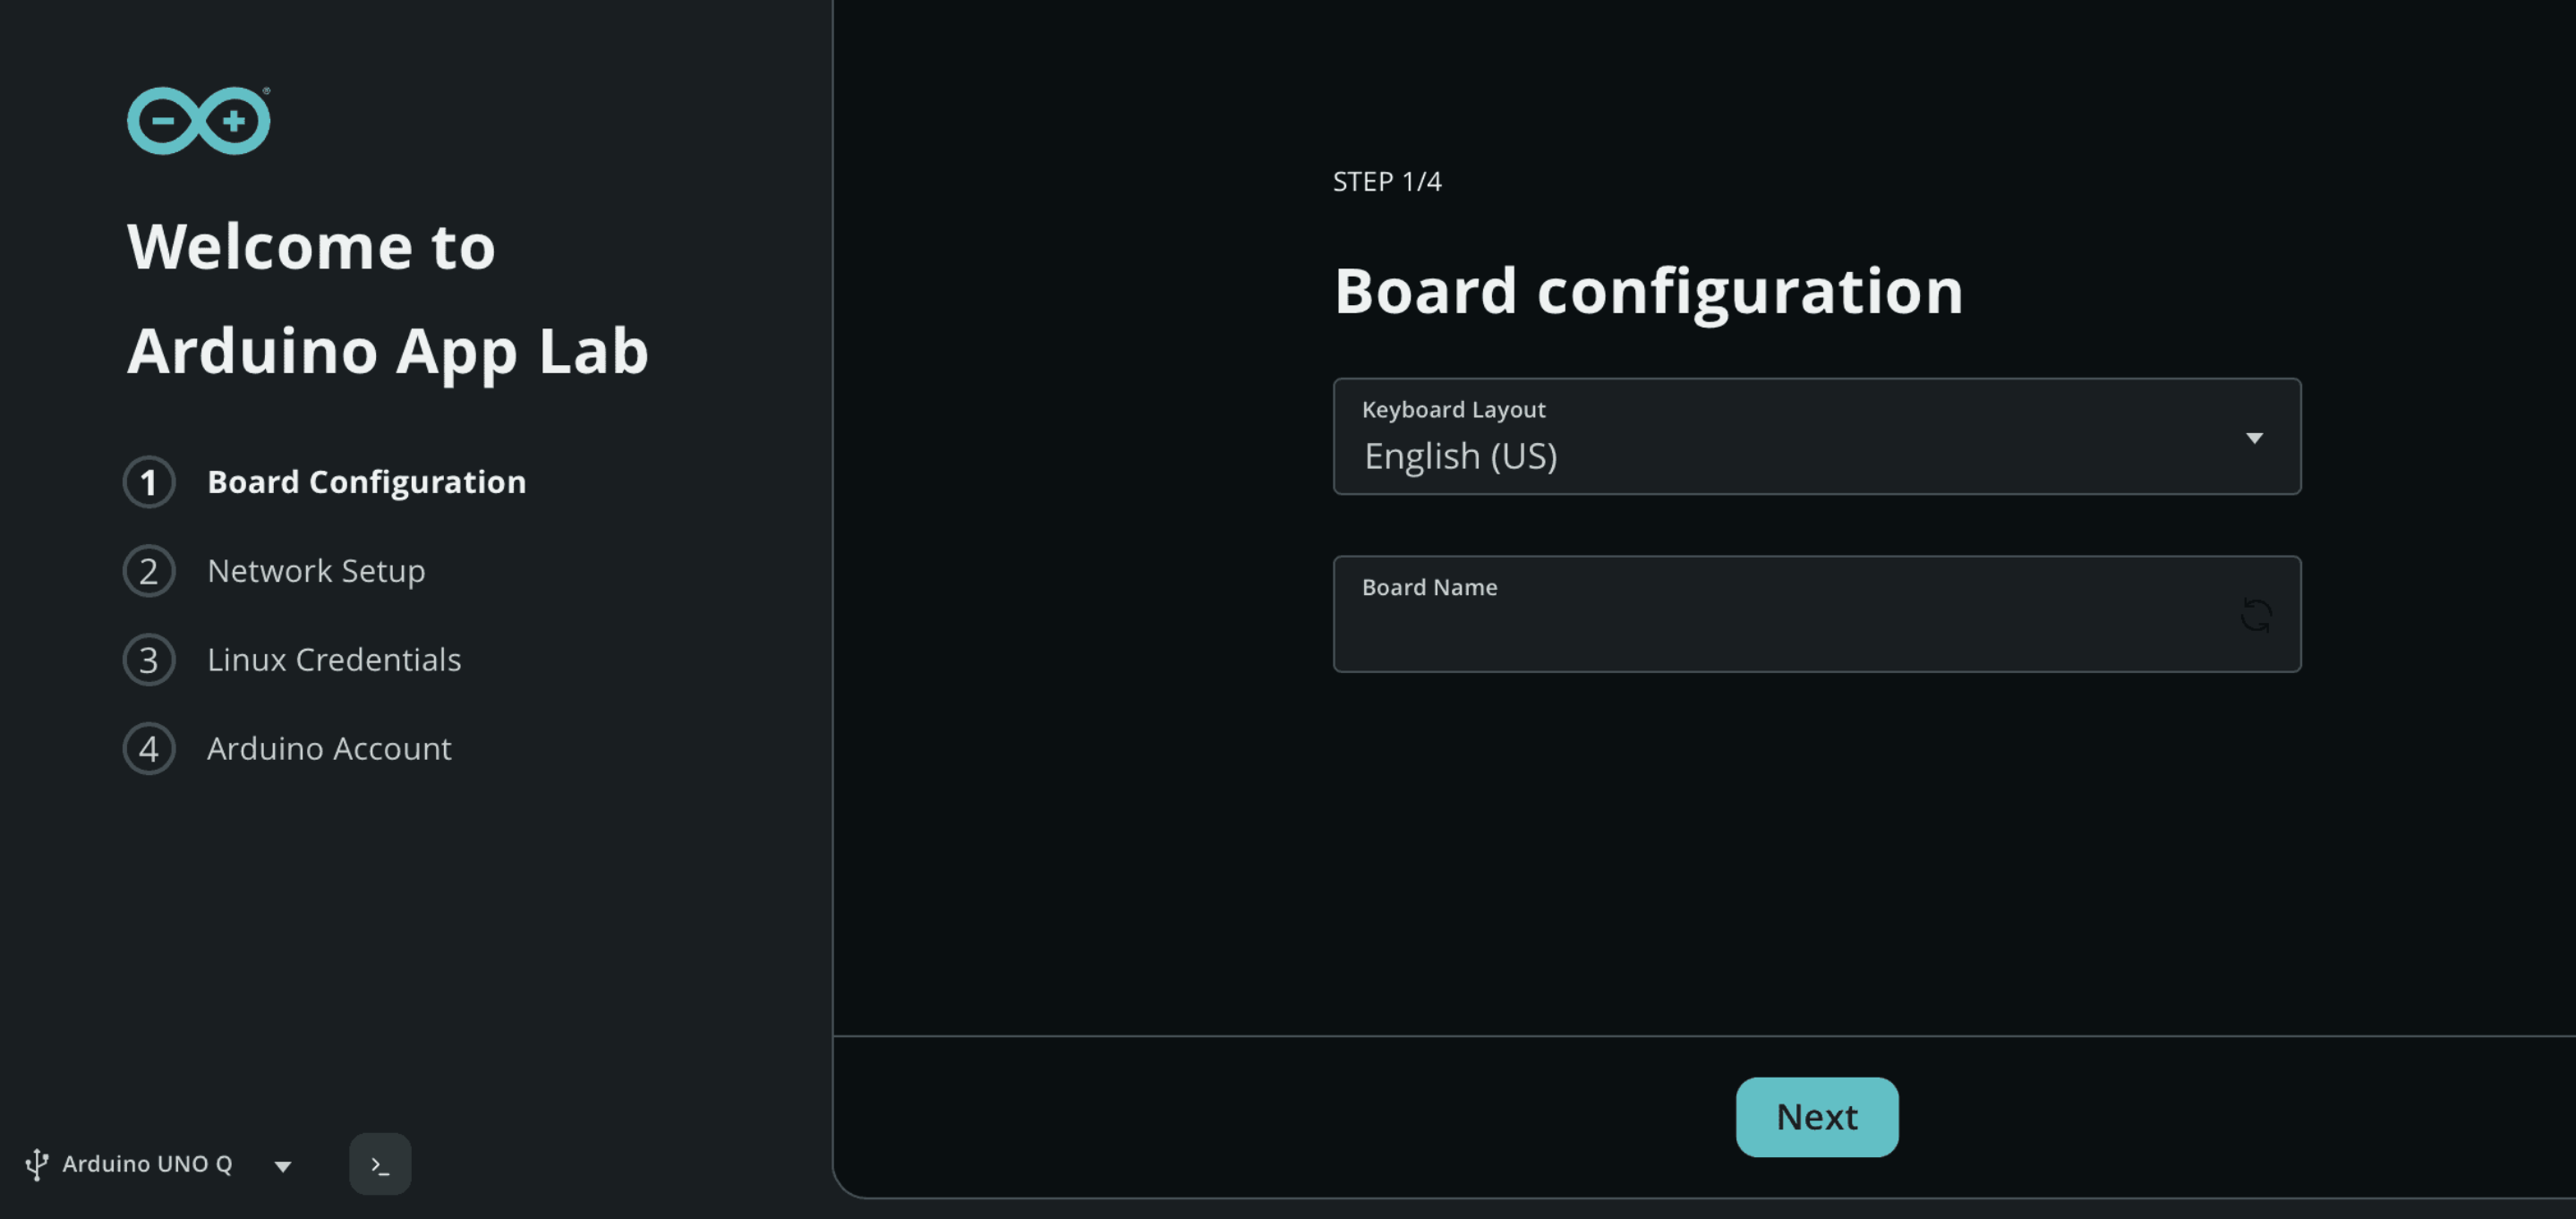
- Finish first-run naming and password if App Lab asks. Arduino documents a default password
arduinoon a board that has not been through this setup. Change it. - Open Examples. Pick Blink LED from Python or Blink LED with UI (names can shift slightly; pick an official Blink).
- Click Run (play control, usually top right).
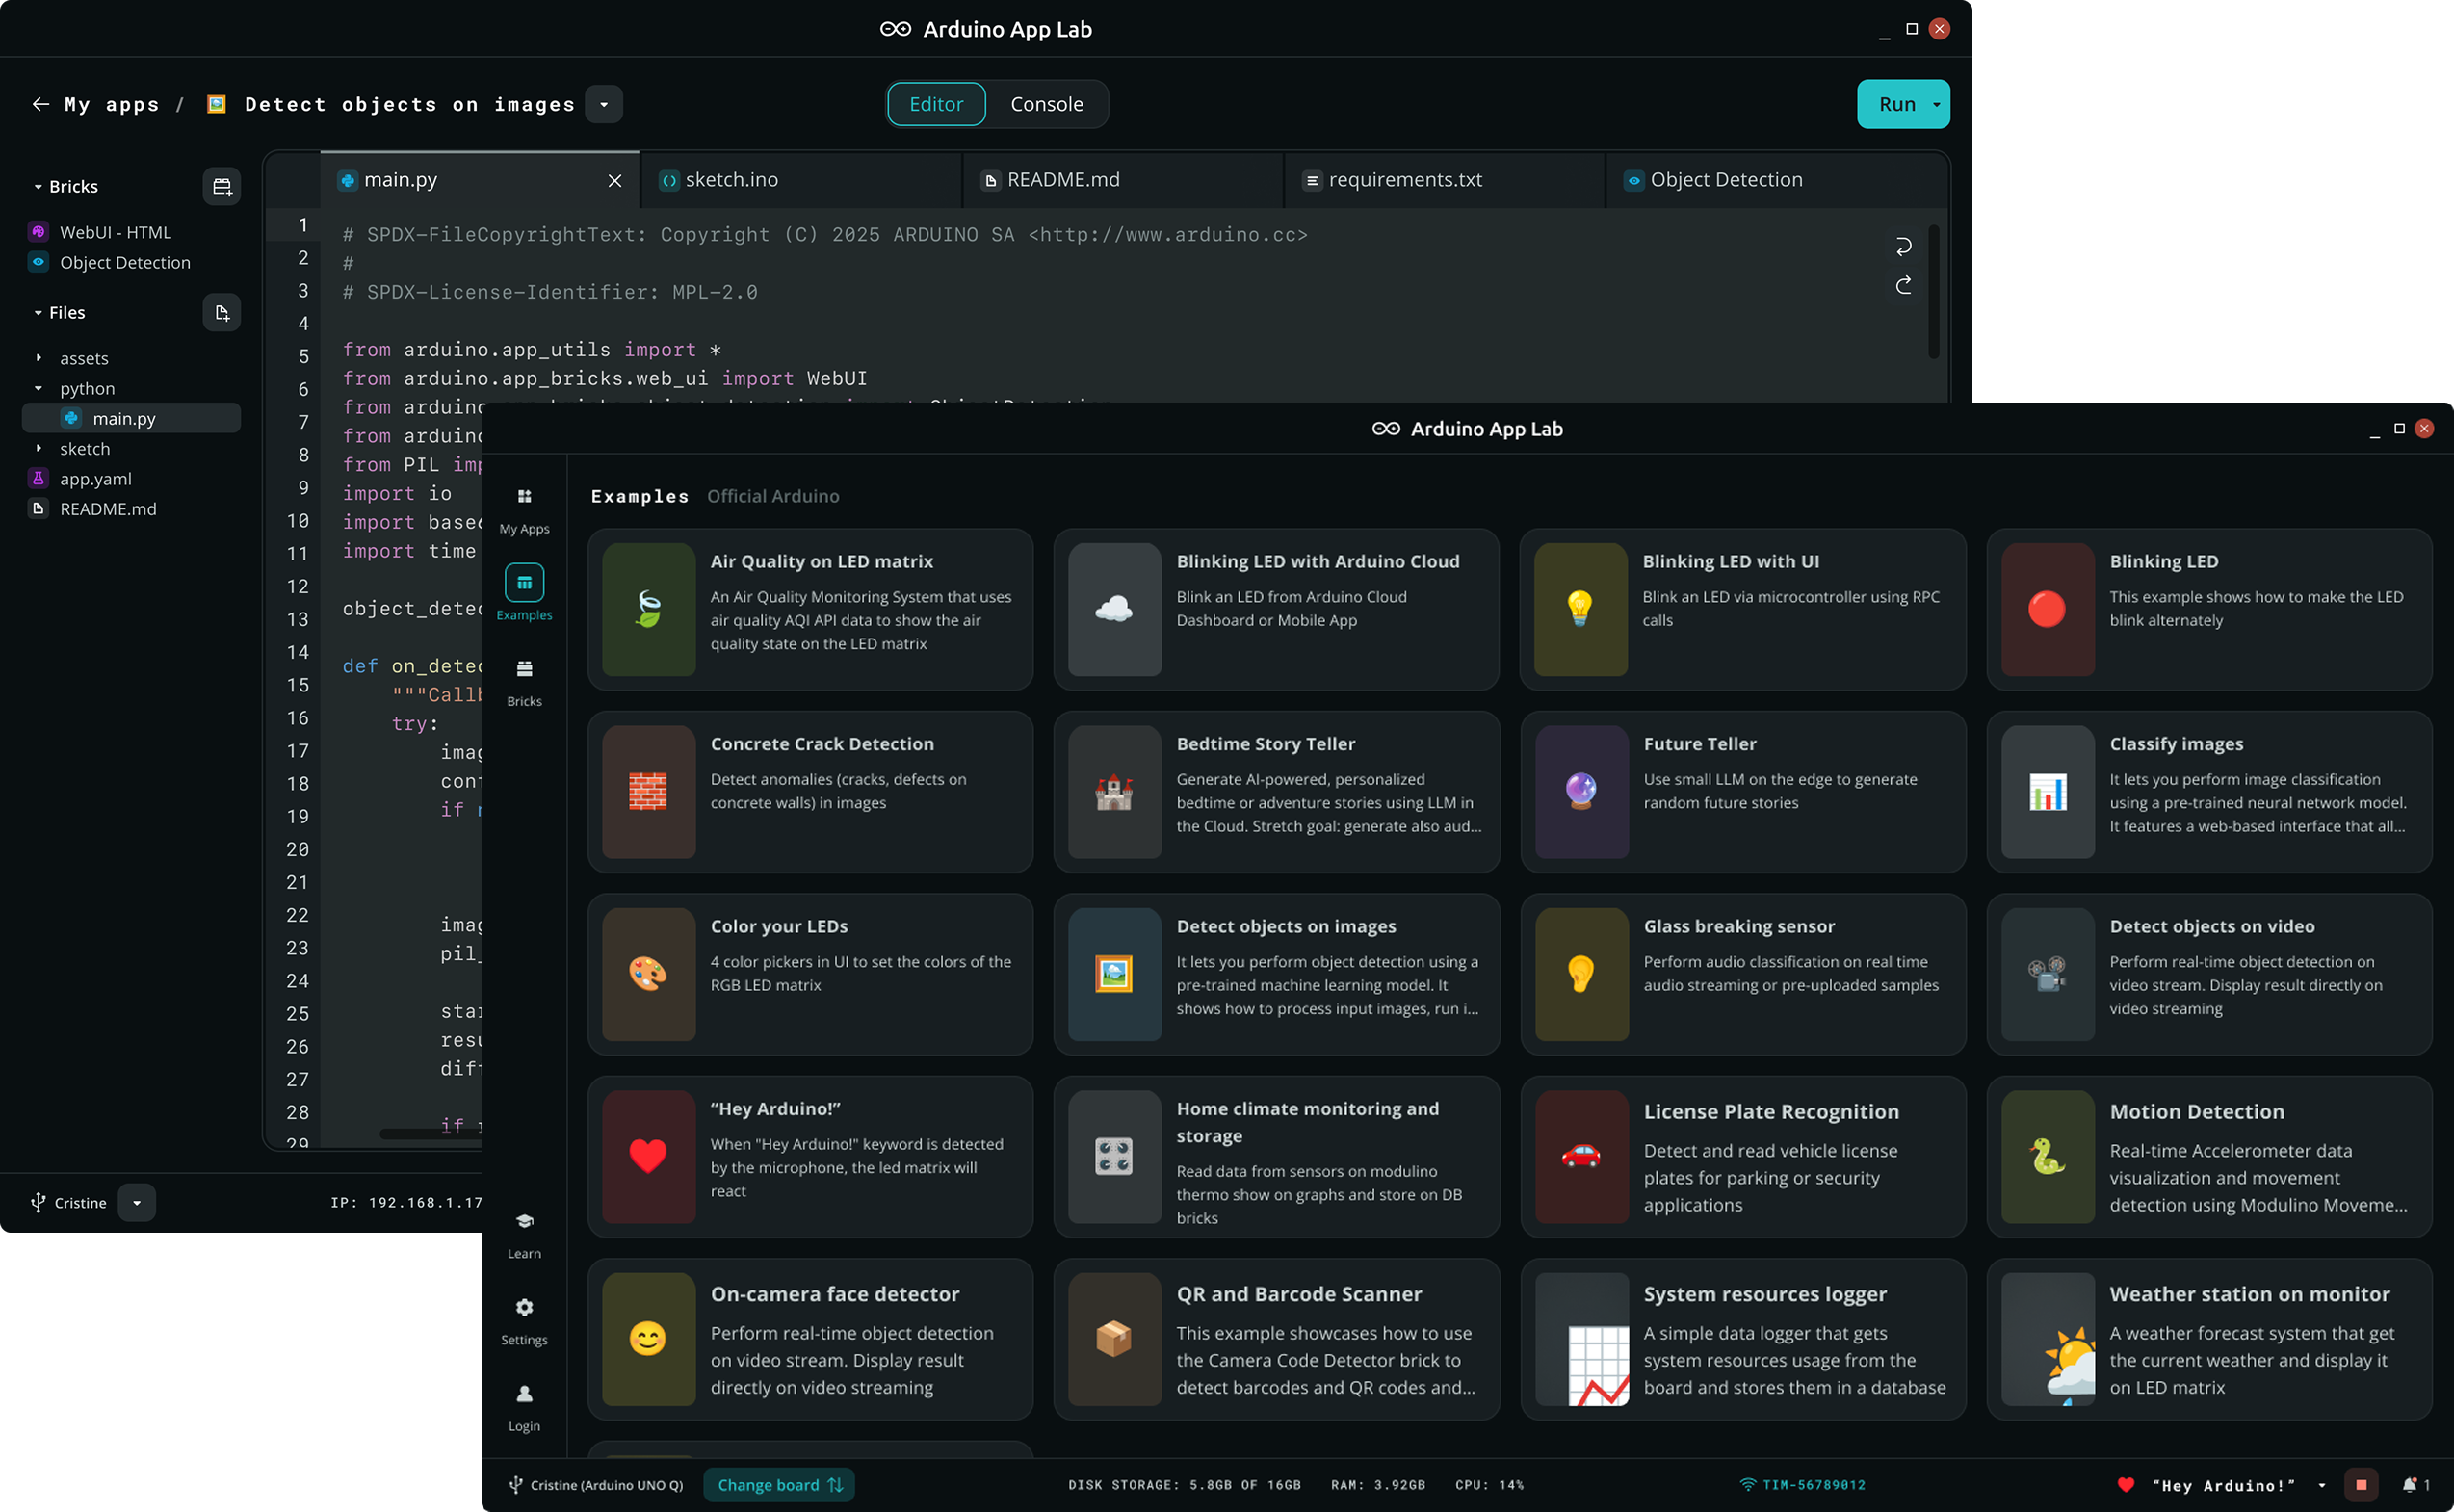
Wait. App Lab is deploying Linux-side Python and the microcontroller sketch together. When the onboard LED blinks, the toolchain works.
If Run fails, read App Lab's log, not Device Manager first. Then cable, power, udev on Linux hosts, and whether Linux on the board is booting at all. A board that never appears is a recovery problem (the recover/reimage article in this folder), not a missing "Board Manager URL."
Switching to network discovery later
USB is the right path for this first hour because it needs nothing extra to work. Once the board has joined Wi-Fi (set during first-run, or later from the board's own settings), App Lab can also find it over the network instead of a cable: open App Lab with the board unplugged, and it should list the board by name if both the board and your PC are on the same network. This matters once the board is doing something that makes a permanent USB tether inconvenient, mounted somewhere, driving a robot, sitting across the room, since Run and file transfer both work the same way over Wi-Fi as they do over the cable.
Network discovery depends on your PC and the board actually being reachable on the same local network segment. A PC on a different Wi-Fi band, a guest network, or behind certain router isolation settings will not see the board even though both are technically "on Wi-Fi." If discovery ever stops working after it previously worked, that is the first thing to check, not a reason to reflash anything.
What you just ran
An App is a project folder: Python on Linux (main.py), optional Arduino sketch (sketch/sketch.ino), optional Bricks (prebuilt modules). Blink from Python calls the microcontroller over the Bridge (RPC, remote procedure call: Python asks the microcontroller to run a named function, as if it were a local one). You do not need those words to finish this hour. Open the two files after Blink works and read them side by side.
Reading them side by side is worth doing even before you have any intention of writing your own App, because it turns an abstract description into something you have actually seen. main.py will have ordinary Python: imports, a loop, a call with a string name in it. sketch.ino will have ordinary Arduino C++: setup(), loop(), a provide() call using that same string name. Nothing in either file is exotic on its own. The only new idea is that the string connecting them is a name both sides agreed to use, not a wire, not a pin number, not a shared variable in memory. That single naming convention is the entire Bridge mechanism, and the architecture article in this folder goes much deeper into it once you have seen it work once.
Do not click Upload in IDE 2 on the same board in the same sitting unless you mean to replace the microcontroller program App Lab just deployed. The last tool to program the STM32 wins, the same way the last person to save a shared document wins: whichever tool wrote to that chip most recently is what is actually running there now, regardless of which tool you glance at afterward.
First-run checklist
- App Lab 0.10.0 from Arduino, not a random GitHub zip unless you are developing App Lab itself.
- UNO Q or VENTUNO Q, data USB-C.
- Linux PC: udev rules.
- Examples → Blink → Run → LED.
- Then duplicate the example ("Copy and edit app" in the examples UI) before you invent a blank App.
Troubleshooting
| Symptom | Likely cause | Fix |
|---|---|---|
| No board in the list | Cable, power, udev, board not booted | Data cable. Wait. Linux udev. Then recovery articles |
| Run fails, LED dark | Wrong example, MCU sketch not deployed | Official Blink. Read MCU log in App Lab |
| Board on a monitor, no App Lab | No PD, not enough RAM | PD dongle, 4 GB variant |
| IDE 2 Upload "broke" Blink | MCU firmware overwritten | Run the App again from App Lab |
Wrap-up
Install App Lab, plug in a UNO Q or VENTUNO Q with a data USB-C cable, run an official Blink example. That is getting started. Architecture, Bricks, Bridge, and a first App you write yourself are the next articles in this folder.
Hack The World and Make Awesome.




