

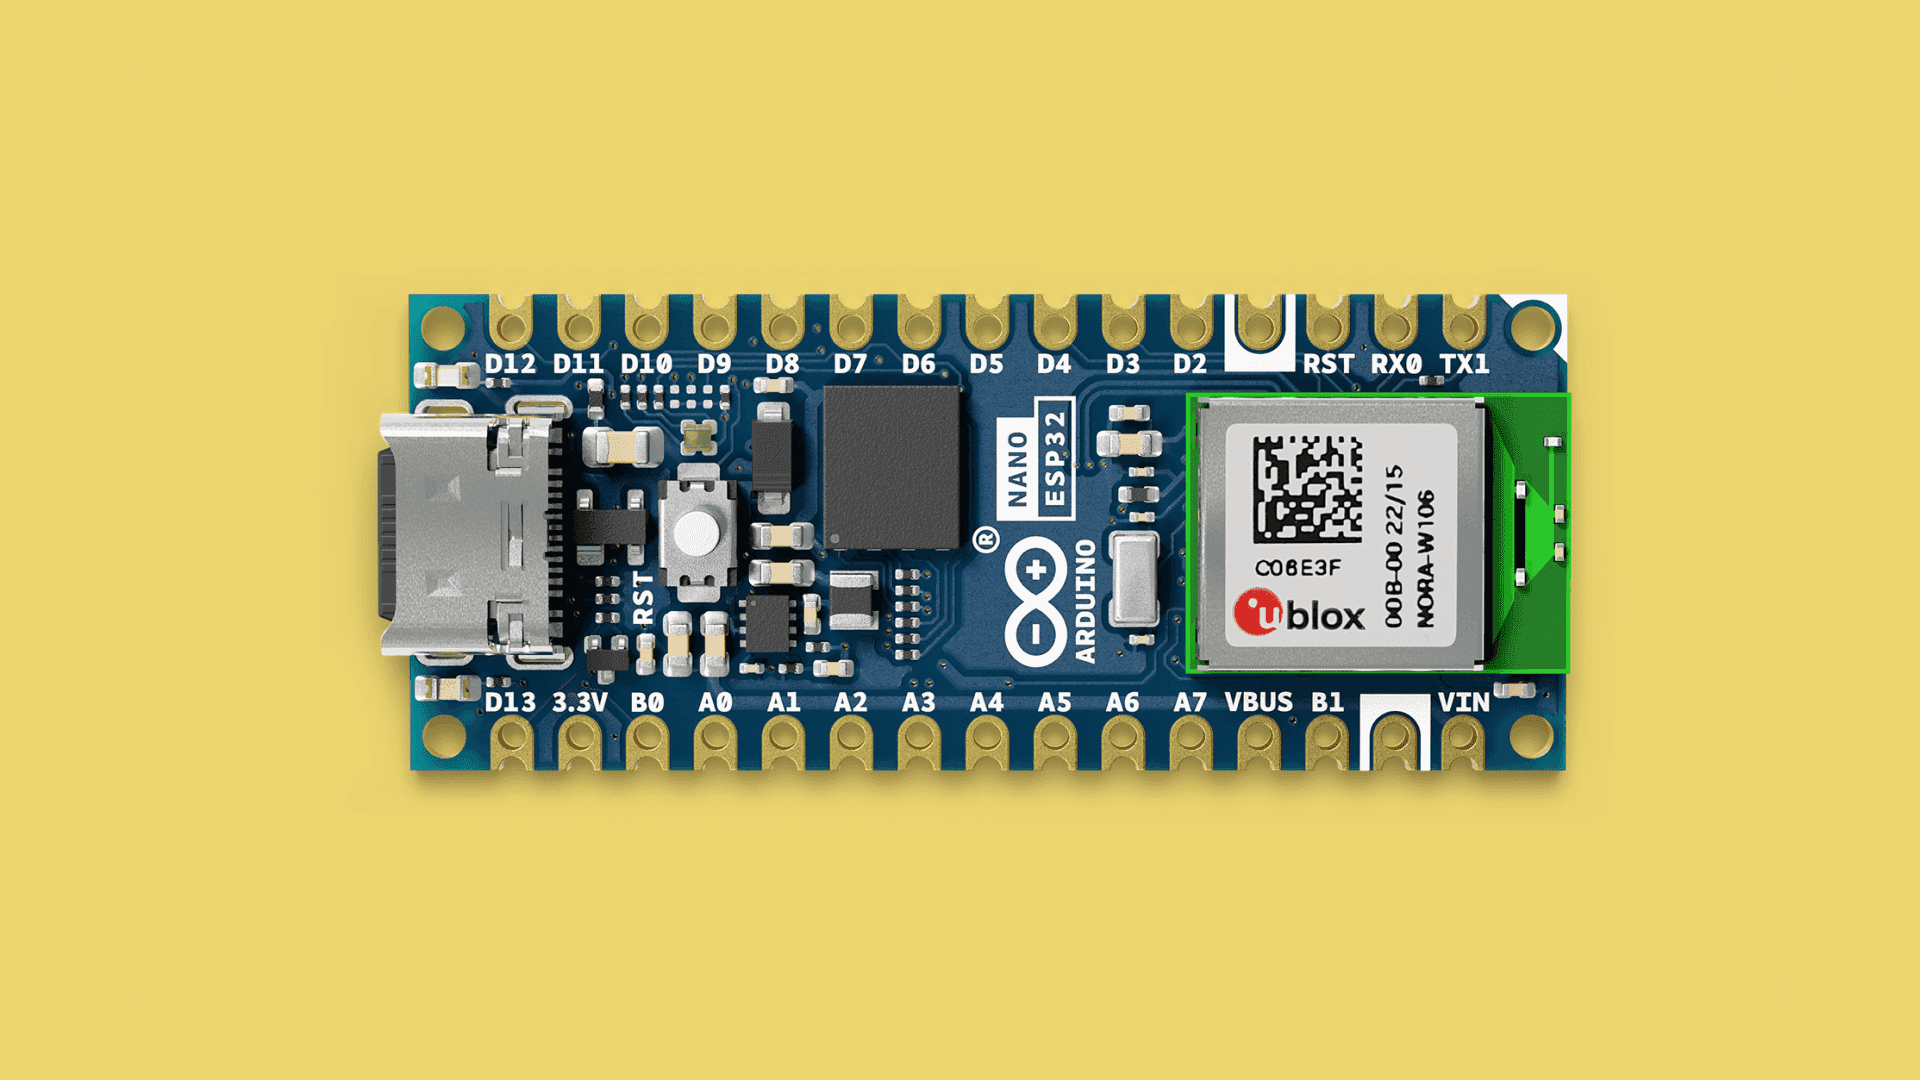
MicroPython is a Python interpreter that runs on the microcontroller. Installing it means replacing the Arduino C++ firmware with that interpreter. After that, the board runs .py files and a REPL (Read-Eval-Print Loop: a live prompt where you type a line of Python and the board runs it immediately) until you upload a sketch again.
This is not Arduino App Lab. App Lab's Python lives on Linux next to a C++ sketch, on UNO Q and VENTUNO Q. This page is MicroPython instead of C++ on a supported Arduino.
The distinction matters because the two setups solve the same "I would rather write Python" wish in completely different ways. A UNO Q has two separate chips, so Linux and the microcontroller genuinely run at the same time, side by side. A board running MicroPython has one chip, the same one that would otherwise be running Arduino C++, so there is no "side by side" available. Installing the interpreter is a full swap: the chip that used to execute your compiled sketch now executes a Python interpreter instead, and that interpreter is the only thing running.
Part 2 of the Mastery Series is which board you own. Part 3 is the C++ sketch you are about to overwrite. You can put C++ back later. You cannot run both firmwares at once.
Which boards this installer supports
Arduino's Help Center list (installer and "upload a sketch to a board running MicroPython") includes, among others:
- Arduino GIGA R1 WiFi
- Nano 33 BLE, BLE Rev2, BLE Sense, BLE Sense Rev2
- Nano ESP32
- Nano RP2040 Connect
- Nicla Vision
- Opta (Lite / RS485 / WiFi depending on the article)
- Portenta C33, Portenta H7 and H7 Lite variants
A classic Uno R3 is not on that list. Neither is a typical AVR Nano. If that is your only board, stay on Arduino C++. Arduino's MicroPython 101 course uses Nano ESP32. Check Arduino's MicroPython page the day you buy. The list moves.
There is a real reason the Uno is missing, not just a scheduling gap on Arduino's side. A MicroPython interpreter is itself a sizeable program: it needs enough flash to hold the interpreter and enough RAM left over to also run your .py code on top of it. The Uno's ATmega328P has 32 KB of flash and 2 KB of RAM, which is tight even for a compiled C++ sketch and nowhere near enough room for an interpreter plus a script. The boards on the supported list are all newer, more capable chips, ESP32 and Cortex-M variants with megabytes of flash and RAM, specifically because that headroom is what running an interpreter costs.
Image: Arduino
Generic ESP32 DevKits can run MicroPython from micropython.org with other tools. This article is Arduino's installer and Arduino's boards.
If you already have IDE 2 sketches on the board, copy them off the PC first. Installing MicroPython overwrites the chip. The sketch files on disk in Documents\Arduino are fine. What was on the microcontroller is not.
Close everything that owns the serial port
The installer needs the USB port. Close Arduino Lab for MicroPython (disconnect first). Close IDE 2 Serial Monitor. Close another installer window. A port-busy failure looks like "board not found."
Use a data USB cable. Charge-only cables light the LED and never enumerate (never complete the "here is what I am" handshake a USB device does when you plug it in).
Install firmware with Arduino's installer
- Download the MicroPython Firmware Installer (Arduino also calls it MicroPython Installer) from Arduino's MicroPython or Help Center pages. Windows:
.exe. macOS: zip into Applications. Linux:.debvia the package manager as Arduino documents. - Launch it. Plug in the supported board.
- Wait until the installer names the board (for example Nano ESP32).
- Click Install MicroPython. Wait for "Installation successful."
- Close the installer. Tap reset once, or unplug and replug, if the Lab will not connect immediately.
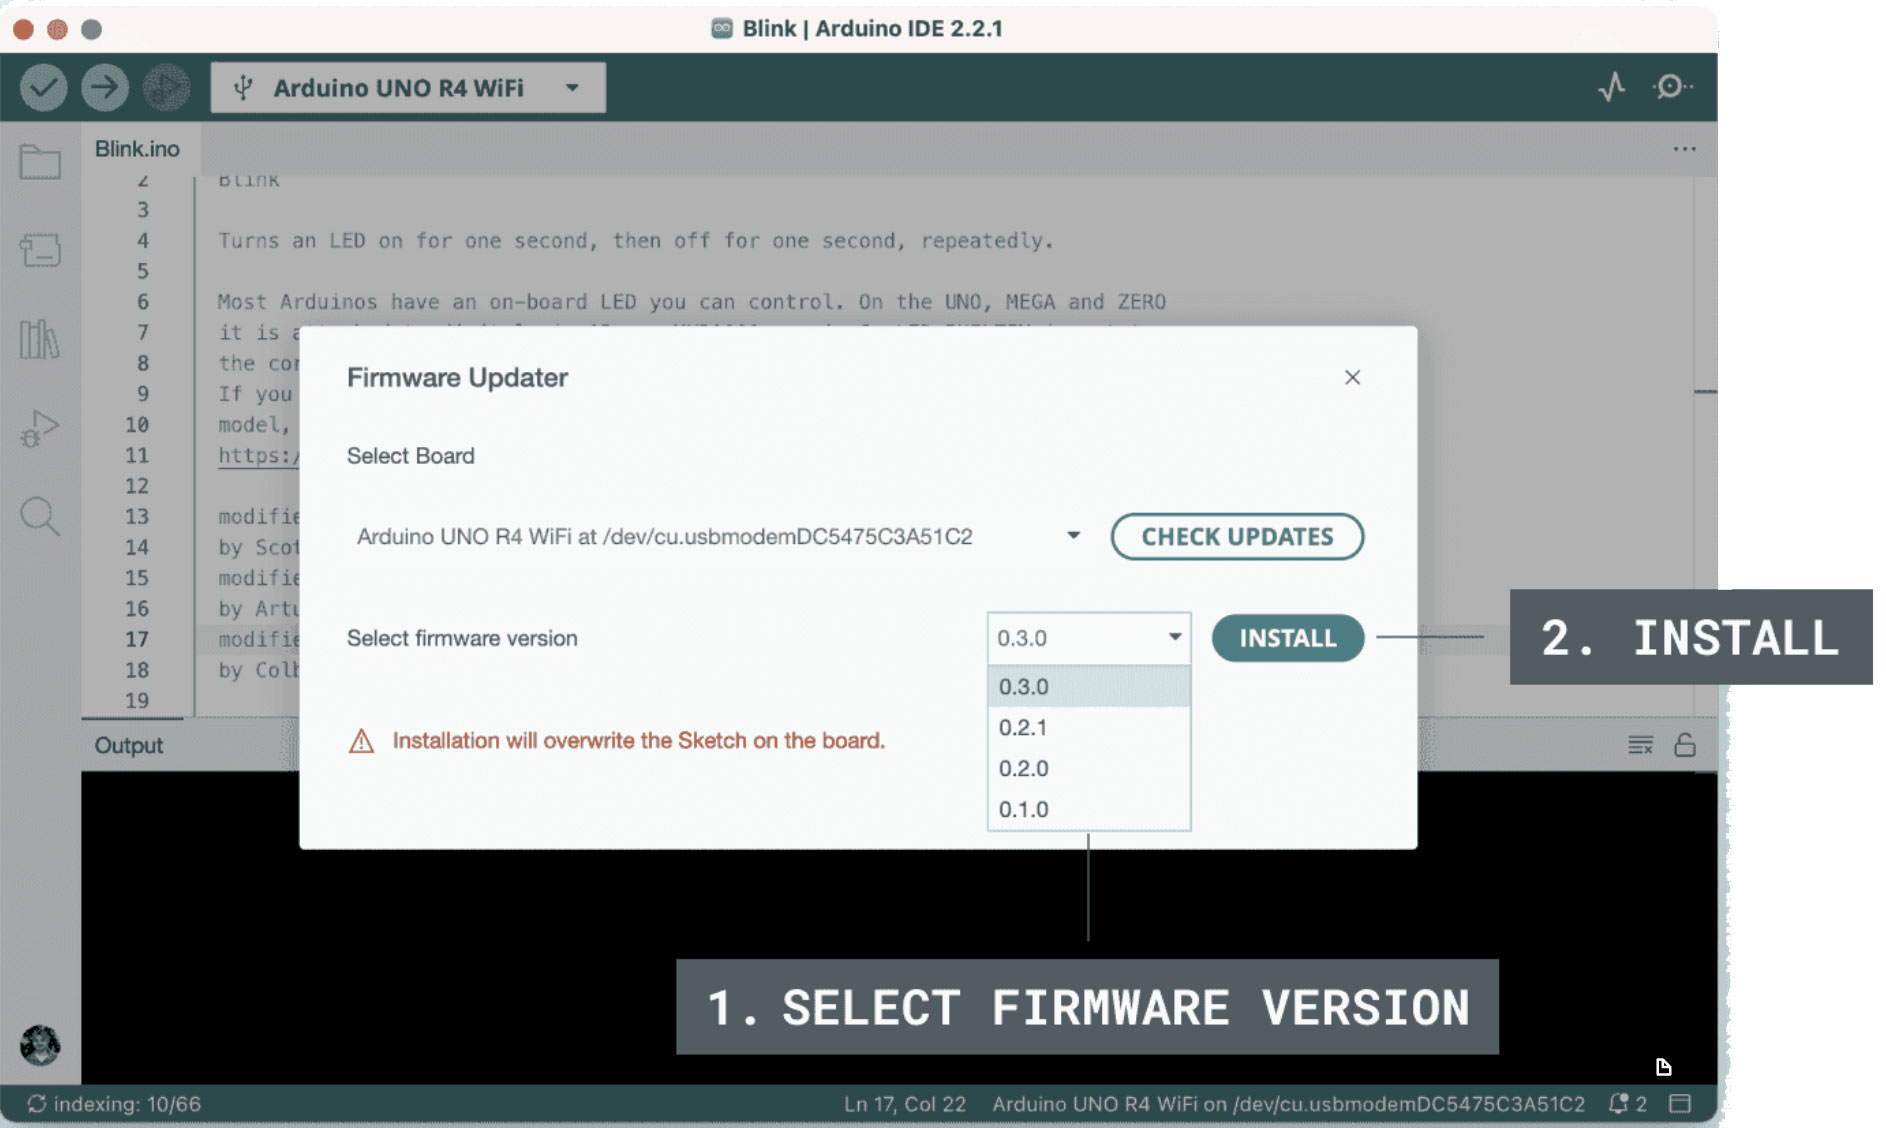
You can also download a board-specific firmware file from Arduino's MicroPython page and flash it yourself. For a first board, use the installer.
Classroom note: one installer on the teacher PC is enough if students bring boards to that station. Twenty copies of the installer fighting over USB is slower than a queue. After firmware is on, students use the Lab on their own machines.
Gotcha: some boards need bootloader mode if detection fails (double-press reset; Nano ESP32 timing can be 0.3–1 second between presses, per Arduino's help article). The LED pulse is the usual "I am in bootloader" cue. Then try the installer again.
Bootloader mode exists because the installer needs to talk to the chip before any firmware, including MicroPython itself, is running on it. A double-tap of reset is the board's way of saying "do not run whatever is currently in flash, wait for new instructions instead," the same trick USB flash drives and phones use to accept a factory reimage without needing a working operating system first. If the timing window is missed, the board boots normally into whatever was already there and the installer sees nothing to talk to, which is why a mistimed double-press looks identical to a cable problem from the installer's side.
Flashing a firmware file directly
The installer is not the only path, just the recommended one for a first board. Arduino's MicroPython page also hosts board-specific .bin or .uf2 firmware files you can flash without the installer's GUI, using whatever flashing tool that board's chip family expects (esptool.py for ESP32-based boards, dragging a .uf2 onto a mass-storage drive for RP2040 boards like the Nano RP2040 Connect). That path exists for people scripting a fleet install across many identical boards, or troubleshooting a board the installer itself cannot detect. For one board on a bench, the installer does the same job with fewer steps and less room to flash the wrong file to the wrong chip.
Reinstalling over an existing MicroPython install
Running the installer again on a board that already has MicroPython on it is not a special case; it is the same operation as the first install, writing a fresh copy of the interpreter into the same flash region. The difference is what it does to your files. A firmware reinstall, like a C++ sketch upload, does not automatically touch the separate file-system area MicroPython keeps main.py and boot.py in, but a version jump between MicroPython releases occasionally does change file-system layout in a way that makes old files worth checking rather than assuming. Download anything you care about from the board with Arduino Lab's file manager before you install over an existing MicroPython setup, the same caution you would use before any firmware change.
Confirm it worked
Open Arduino Lab for MicroPython (desktop zip from Arduino, or the online Lab at lab-micropython.arduino.cc). Connect. You want a REPL prompt: >>>. Type:
>>> 2 + 2 # Type only "2 + 2" after the >>> prompt, then press Enter
If you see 4, MicroPython is on the chip. The first-program and REPL articles in this folder take it from here.
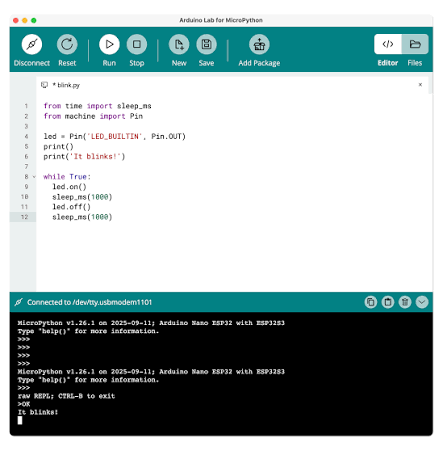
If Connect fails: firmware still C++, port held, bad cable, or unsupported board. Run the installer again after closing the Lab.
How to get Arduino C++ back
Disconnect the Lab. Open Arduino IDE 2. Select the board. Upload Blink or any sketch. Arduino's help center: you do not uninstall MicroPython as a separate step. The sketch upload replaces that firmware.
To return to MicroPython later, run the installer again.
Troubleshooting
| Symptom | Likely cause | Fix |
|---|---|---|
| Installer sees nothing | Cable, port busy, wrong board | Data cable. Close Lab and IDE. Confirm the board is on Arduino's list |
| Install starts, then fails | Bootloader mode needed | Double-press reset. Retry |
| Lab Connect fails after success | Reset not done, or Lab opened too fast | Reset or replug. Close other serial apps |
| You expected this on an Uno | Uno is not supported here | C++ in IDE 2, or a listed board |
Wrap-up
Install MicroPython with Arduino's installer on a listed board, then confirm >>> in the Lab. Close other serial programs first. Upload a sketch in IDE 2 when you want C++ again. Next in this folder: a first main.py, then the REPL.
Hack The World and Make Awesome.




