

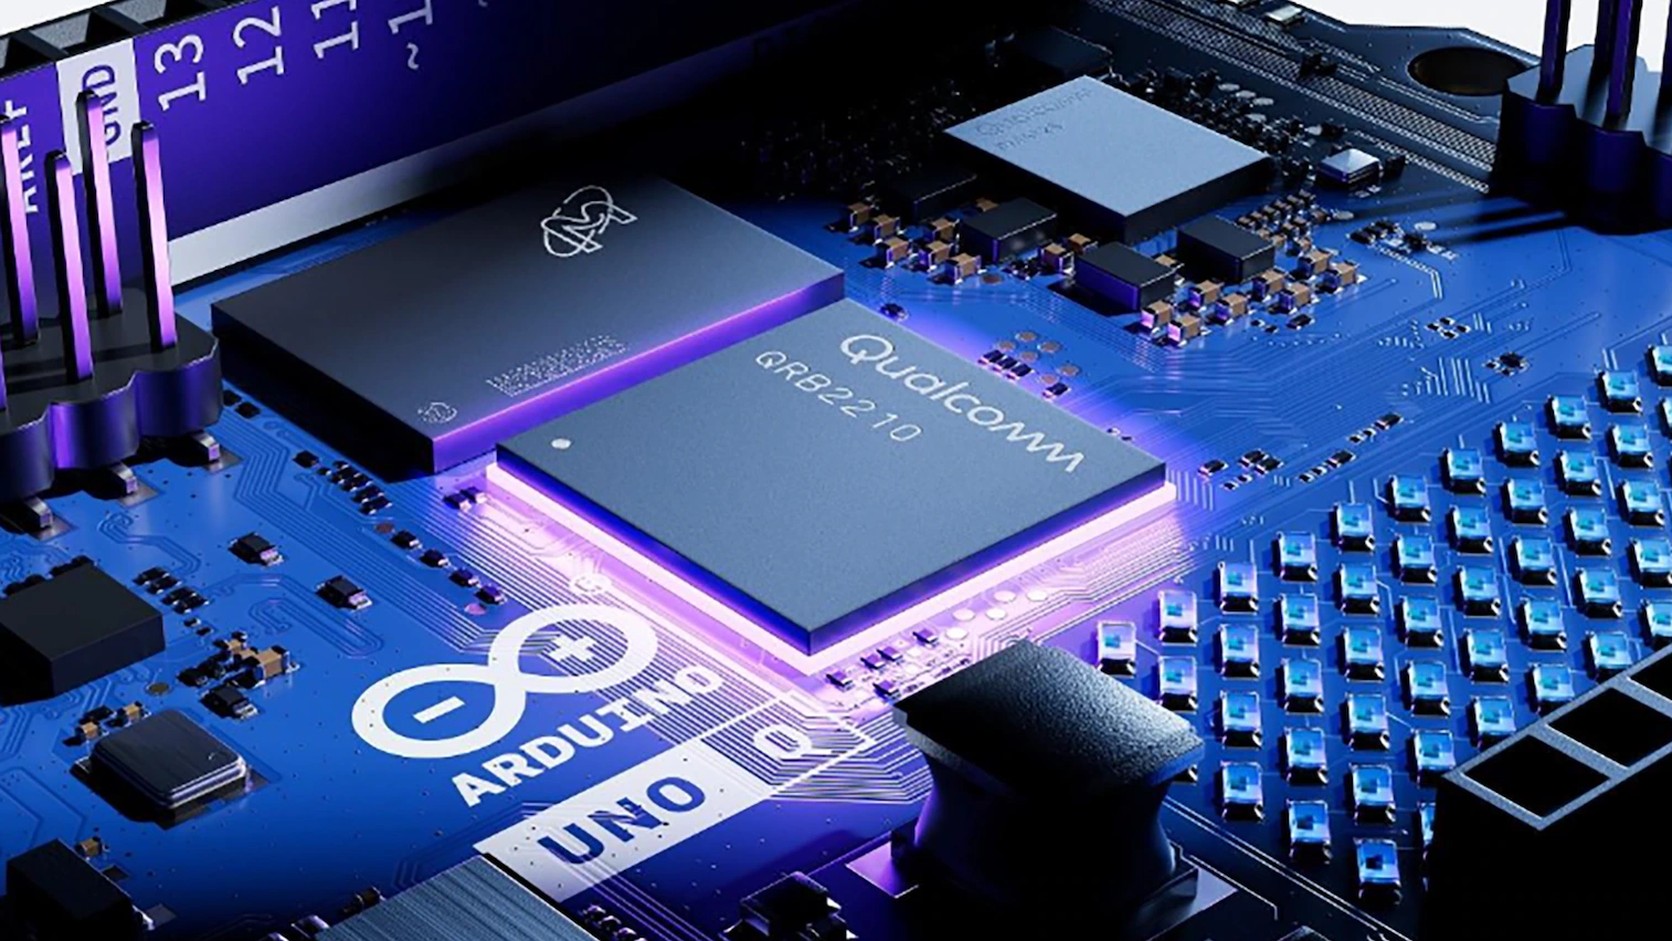
"AI" in App Lab marketing is not a chatbot glued onto Blink. It is a model running on the UNO Q's Linux processor, usually looking at a camera or audio, then handing Python a small result: a label, a score, a box. Python can tell the microcontroller to move a pin over the Bridge.
The STM32 sketch does not run the neural network. If a tutorial pastes a huge model into loop(), that tutorial is not about App Lab.
You need a working App Lab Blink, a camera the official vision example lists, and enough RAM (Arduino's 4 GB UNO Q is the practical version of the board here). Skip this article until projects 1–4 in the ten-project list are boring. A model will not debug a broken Bridge for you.
Part 2 is why this board exists (Linux next to pins). Part 3 is the sketch that might close a relay when the label flips.
What a model is, in plain words
A model is a file of numbers, called weights, that a program learned by studying thousands of labeled examples. Learning from those examples is training, and it happens on big computers long before the file reaches your board. Using the finished file to look at a new camera frame is inference, and inference is the only part your UNO Q does. That distinction matters because it keeps expectations honest: the board is not learning your workshop, it is applying what someone else already taught the model.
Local vs Cloud models
Local (on the board): the model files live on Linux, often as a Brick. Works if Wi-Fi dies, within the model's limits. Arduino's example list includes object detection on a USB camera, face detection, a concrete-crack detector, an edge AI assistant (a small language model on the board).
Cloud: a Brick or Python calls a service (Arduino documents Cloud LLM / chatbot examples). Needs network. Fine for a demo. Wrong for a greenhouse that must still close a vent when the access point dies.
Pick on purpose. The Brick catalog and the example names tell you which is which. Read the example's README before you copy it.
Hardware the model expects
Vision examples want a USB camera the Debian image can see. Audio examples want a microphone the image supports. The UNO Q's Qualcomm chip includes acceleration for on-device vision Arduino talks about in the product copy. That does not mean every USB webcam is blessed. Use what the example lists.
Power: cameras and models want the 4 GB RAM SKU more than Blink does. A 2 GB board may run a tiny example and fall over on a larger one.
The data path
- Camera (or mic) → Linux.
- Brick / Python runs the model.
- Python gets a compact result.
- Optional:
Bridge.call("set_relay", True)so the MCU drives GPIO. - Optional: a web UI Brick shows the frame. Frames do not go over the Bridge (256-byte message cap in Arduino's Bridge docs).
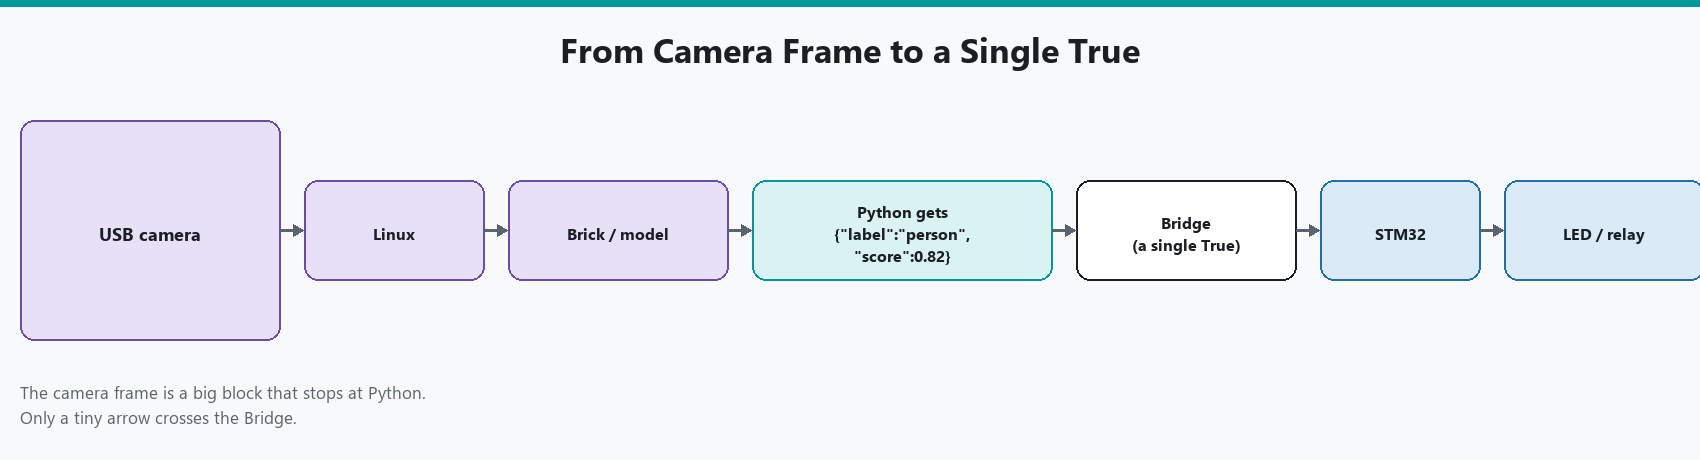
Keep step 4 a bool or a short string. Do not send the image to the STM32. If you want to see the frame, that is a web UI on Linux, not Serial Plotter on the MCU.
How to start (easy way)
Do not author a custom model first. Duplicate Arduino's Detect Objects on Camera or Face Detector example (exact titles live in App Lab's Examples tab and can move). Run it. When the log shows detections, duplicate again and add one Bridge call to an LED.
Custom models have their own App Lab docs. That is "replace the Brick's model with yours," still on Linux. It is not a sketch library.
Light the scene. A model trained on bright demo videos will miss objects in a dim shop. That is not a failed Brick install. Move a lamp before you reflash Debian.
Reading a detection result
Most vision examples hand Python a list of detections. Each one has a label, a confidence score between 0 and 1, and a box showing where the object sits in the frame. The exact field names depend on the Brick, so treat the shape below as an illustration and copy the real names from the example you duplicated:
# Illustrative shape only. Check your example for the real field names.
detections = [
    {"label": "person", "confidence": 0.82, "box": [40, 60, 210, 380]},
    {"label": "chair",  "confidence": 0.41, "box": [300, 90, 420, 360]},
]

CONFIDENCE_MIN = 0.6   # Ignore guesses below this. Tune it after logging, not before.

def person_detected(detections):
    # any() stops at the first match, and the confidence check filters out
    # the model's weak guesses so a chair-shaped shadow does not count.
    return any(d["label"] == "person" and d["confidence"] >= CONFIDENCE_MIN
               for d in detections)
That person_detected function is exactly what feeds the counting snippet further down.
Choosing a threshold with real data
Set the confidence cutoff too low and the model cries wolf (a false positive, meaning it reports something that is not there). Set it too high and it misses real objects (a false negative). There is no correct number in the abstract. The right one depends on your lighting, your camera angle, and how annoying a wrong answer is. The cheapest way to find it is to record what the model says for a day:
import time

def log_detection(label, score):
    # CSV (comma-separated values) opens straight into a spreadsheet, where
    # you can sort by score and see where real detections start to separate
    # from noise. Append mode keeps earlier rows when the App restarts.
    with open("detections.csv", "a") as f:
        f.write(f"{time.time()},{label},{score:.2f}\n")
After a day, sort the file by score. Scores for things that really were present will cluster high, and phantom detections will sit lower. Your threshold belongs in the gap between the two groups.
Labels are not truth
A "person" score of 0.6 is a model opinion, not a certified occupancy sensor. For a door lock or anything that can hurt someone, this is a demo, not a safety system. For a workshop light, hysteresis plus a human-visible LED is enough. Hysteresis means requiring the input to stay changed for a while before you react, so a flickery signal does not make your output flicker too. A thermostat does the same thing: it does not switch the furnace on and off every time the temperature wobbles by a tenth of a degree.
Log the label and the score in Python for a day before you wire a relay. You will learn how often the model flickers. Then set the threshold. Here is a simple counting version of hysteresis you can drop into main.py. How you get person_detected depends on the Brick, so take that part from the example you duplicated:
FRAMES_NEEDED = 5     # Detections in a row before we believe it
seen = 0              # Running count, between 0 and FRAMES_NEEDED
relay_on = False      # What we last told the MCU

def update(person_detected):
    global seen, relay_on
    if person_detected:
        seen = min(seen + 1, FRAMES_NEEDED)   # Count up, but not past the limit
    else:
        seen = max(seen - 1, 0)               # Count down, but not below zero
    if seen == FRAMES_NEEDED and not relay_on:
        relay_on = True
        Bridge.call("set_relay", True)        # Only fires once, on the change
    elif seen == 0 and relay_on:
        relay_on = False
        Bridge.call("set_relay", False)
The relay now needs five solid detections to turn on and five solid misses to turn off, so one confused frame does nothing.
What will waste your week
- No camera, expecting the example to invent one.
- Watching IDE 2 Serial for Python prints.
- Putting
delay(500)in the MCUloop()while waiting for detections. Serve RPC. Let Python be slow. - Using App Lab AI as the reason to buy an Uno. Wrong board.
Troubleshooting
| Symptom | Likely cause | Fix |
|---|---|---|
| No detections | No camera, wrong Brick, dark room | Webcam the example lists. Lights. Log |
| Board crawls or dies | RAM / power | 4 GB SKU. Official supply. One vision Brick |
| Relay chatters | No hysteresis | Count N frames in Python before GPIO (see the snippet above) |
Wrap-up
App Lab AI runs on Linux, usually as a Brick, on UNO Q (or VENTUNO Q) class hardware. The microcontroller gets a small Bridge message, not the model. Start from an official vision or assistant example, then add one pin. Local vs Cloud is a reliability choice, not a branding choice.
Hack The World and Make Awesome.




